Wear shoes that fit
“The human foot is a masterpiece of engineering and a work of art.” (Leonardo da Vinci)
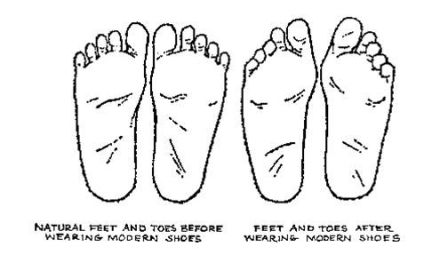
Are you a fashion victim? Do you wear shoes that are too tight, too floppy, too stiff, or too heavy ?
I recently found the best pair of boots I’ve ever had. They are light, flexible, waterproof, and they fit my foot shape, which has a narrow heel and a wide toe box. It’s amazing what a difference it can make in daily life to have shoes that really fit well.
Our feet need to move and stretch throughout the day to remain healthy. Often our shoes restrict us, while providing “support” and protection. I see many clients whose feet are weak, and sadly collapsing under the weight of the rest of the body. This collapse affects everything else in their posture. They may say “I’ve always had flat feet” but actually in most cases, the arch is normal but it is totally unused. Heavy or stiff shoes – even with arch support – merely reinforce that weakness. Orthotics, although they may help relieve pain in the short term, usually don’t let the feet move enough. They are usually rigid, reducing the chance that the foot will regain normal movement and strength.
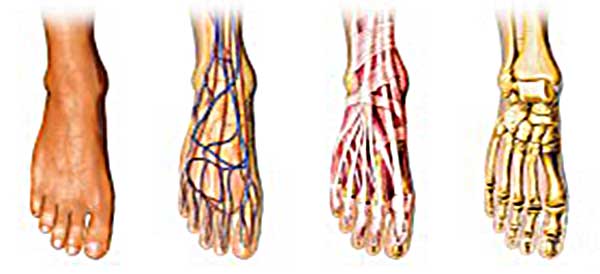
The foot is designed with various internal spring-like structures, the main one being the medial longitudinal arch. The way the bones are shaped and fit together makes these arches possible.
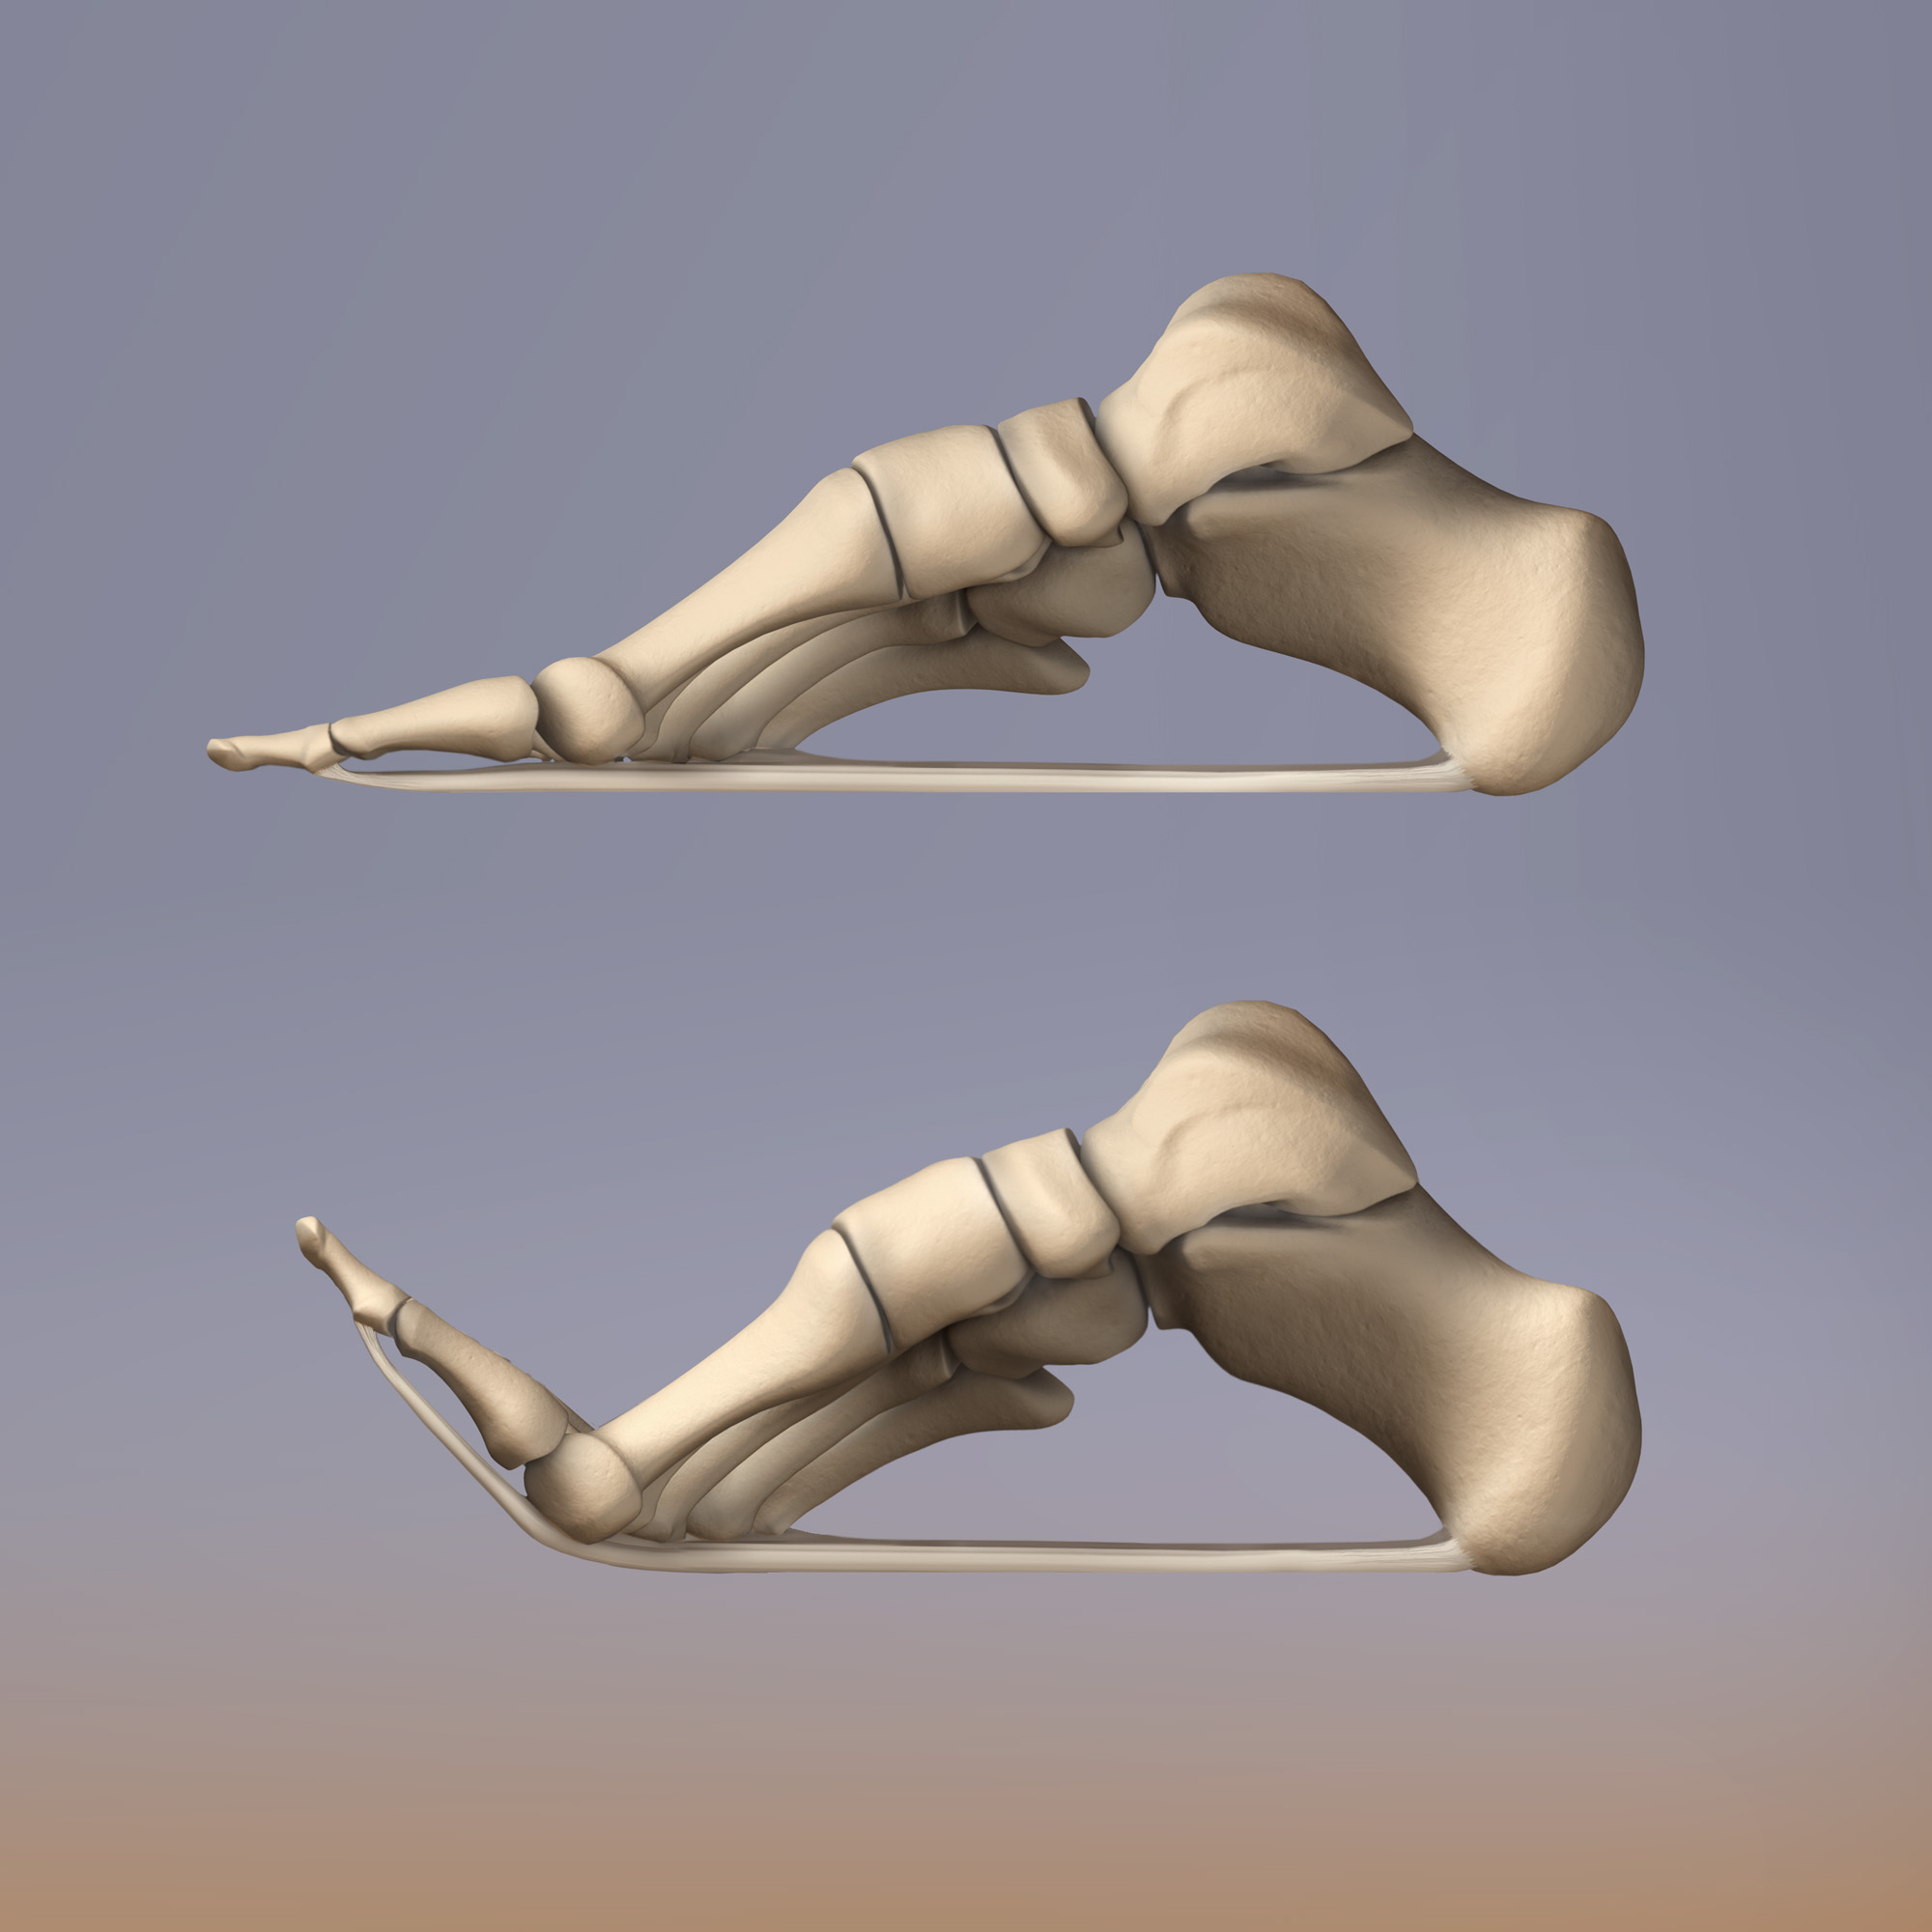
Of course there is structural variation from one person to the next, with some feet having a higher arch, some a “normal” arch, and some a lower arch. One way to observe this in your own feet is to lift your toes, leaving the rest of your foot on the floor. This pulls on the plantar fascia, shortening it and lifting the arch like a bow and a bowstring. This picture shows quite a high arch, so don’t expect that much, but for someone whose arches have been collapsed, some lift will occur.
We have a marvelous web of muscles and fascia on the undersurface of the feet, but in many people it is underused. In the course of normal gait, we strike the ground with the heel, then ideally we roll through each part of the foot (including the toes) before stepping onto the other foot. The foot changes shape as we roll through the arch and push off with the toes to complete each step. That shape change stimulates the muscles and fascia to stay healthy. Those with weak and collapsed feet tend to plunk the whole foot down at once, without using the spring that is inherent in the structure of the foot, or any of the muscles. It’s like falling from one foot the other, all day long. The plantar fascia degrades without the muscular teamwork, resulting in tears and inflammation. The hips, knees and lower back also suffer.
Educating collapsed feet is possible and even entertaining! Here are a few things to try:
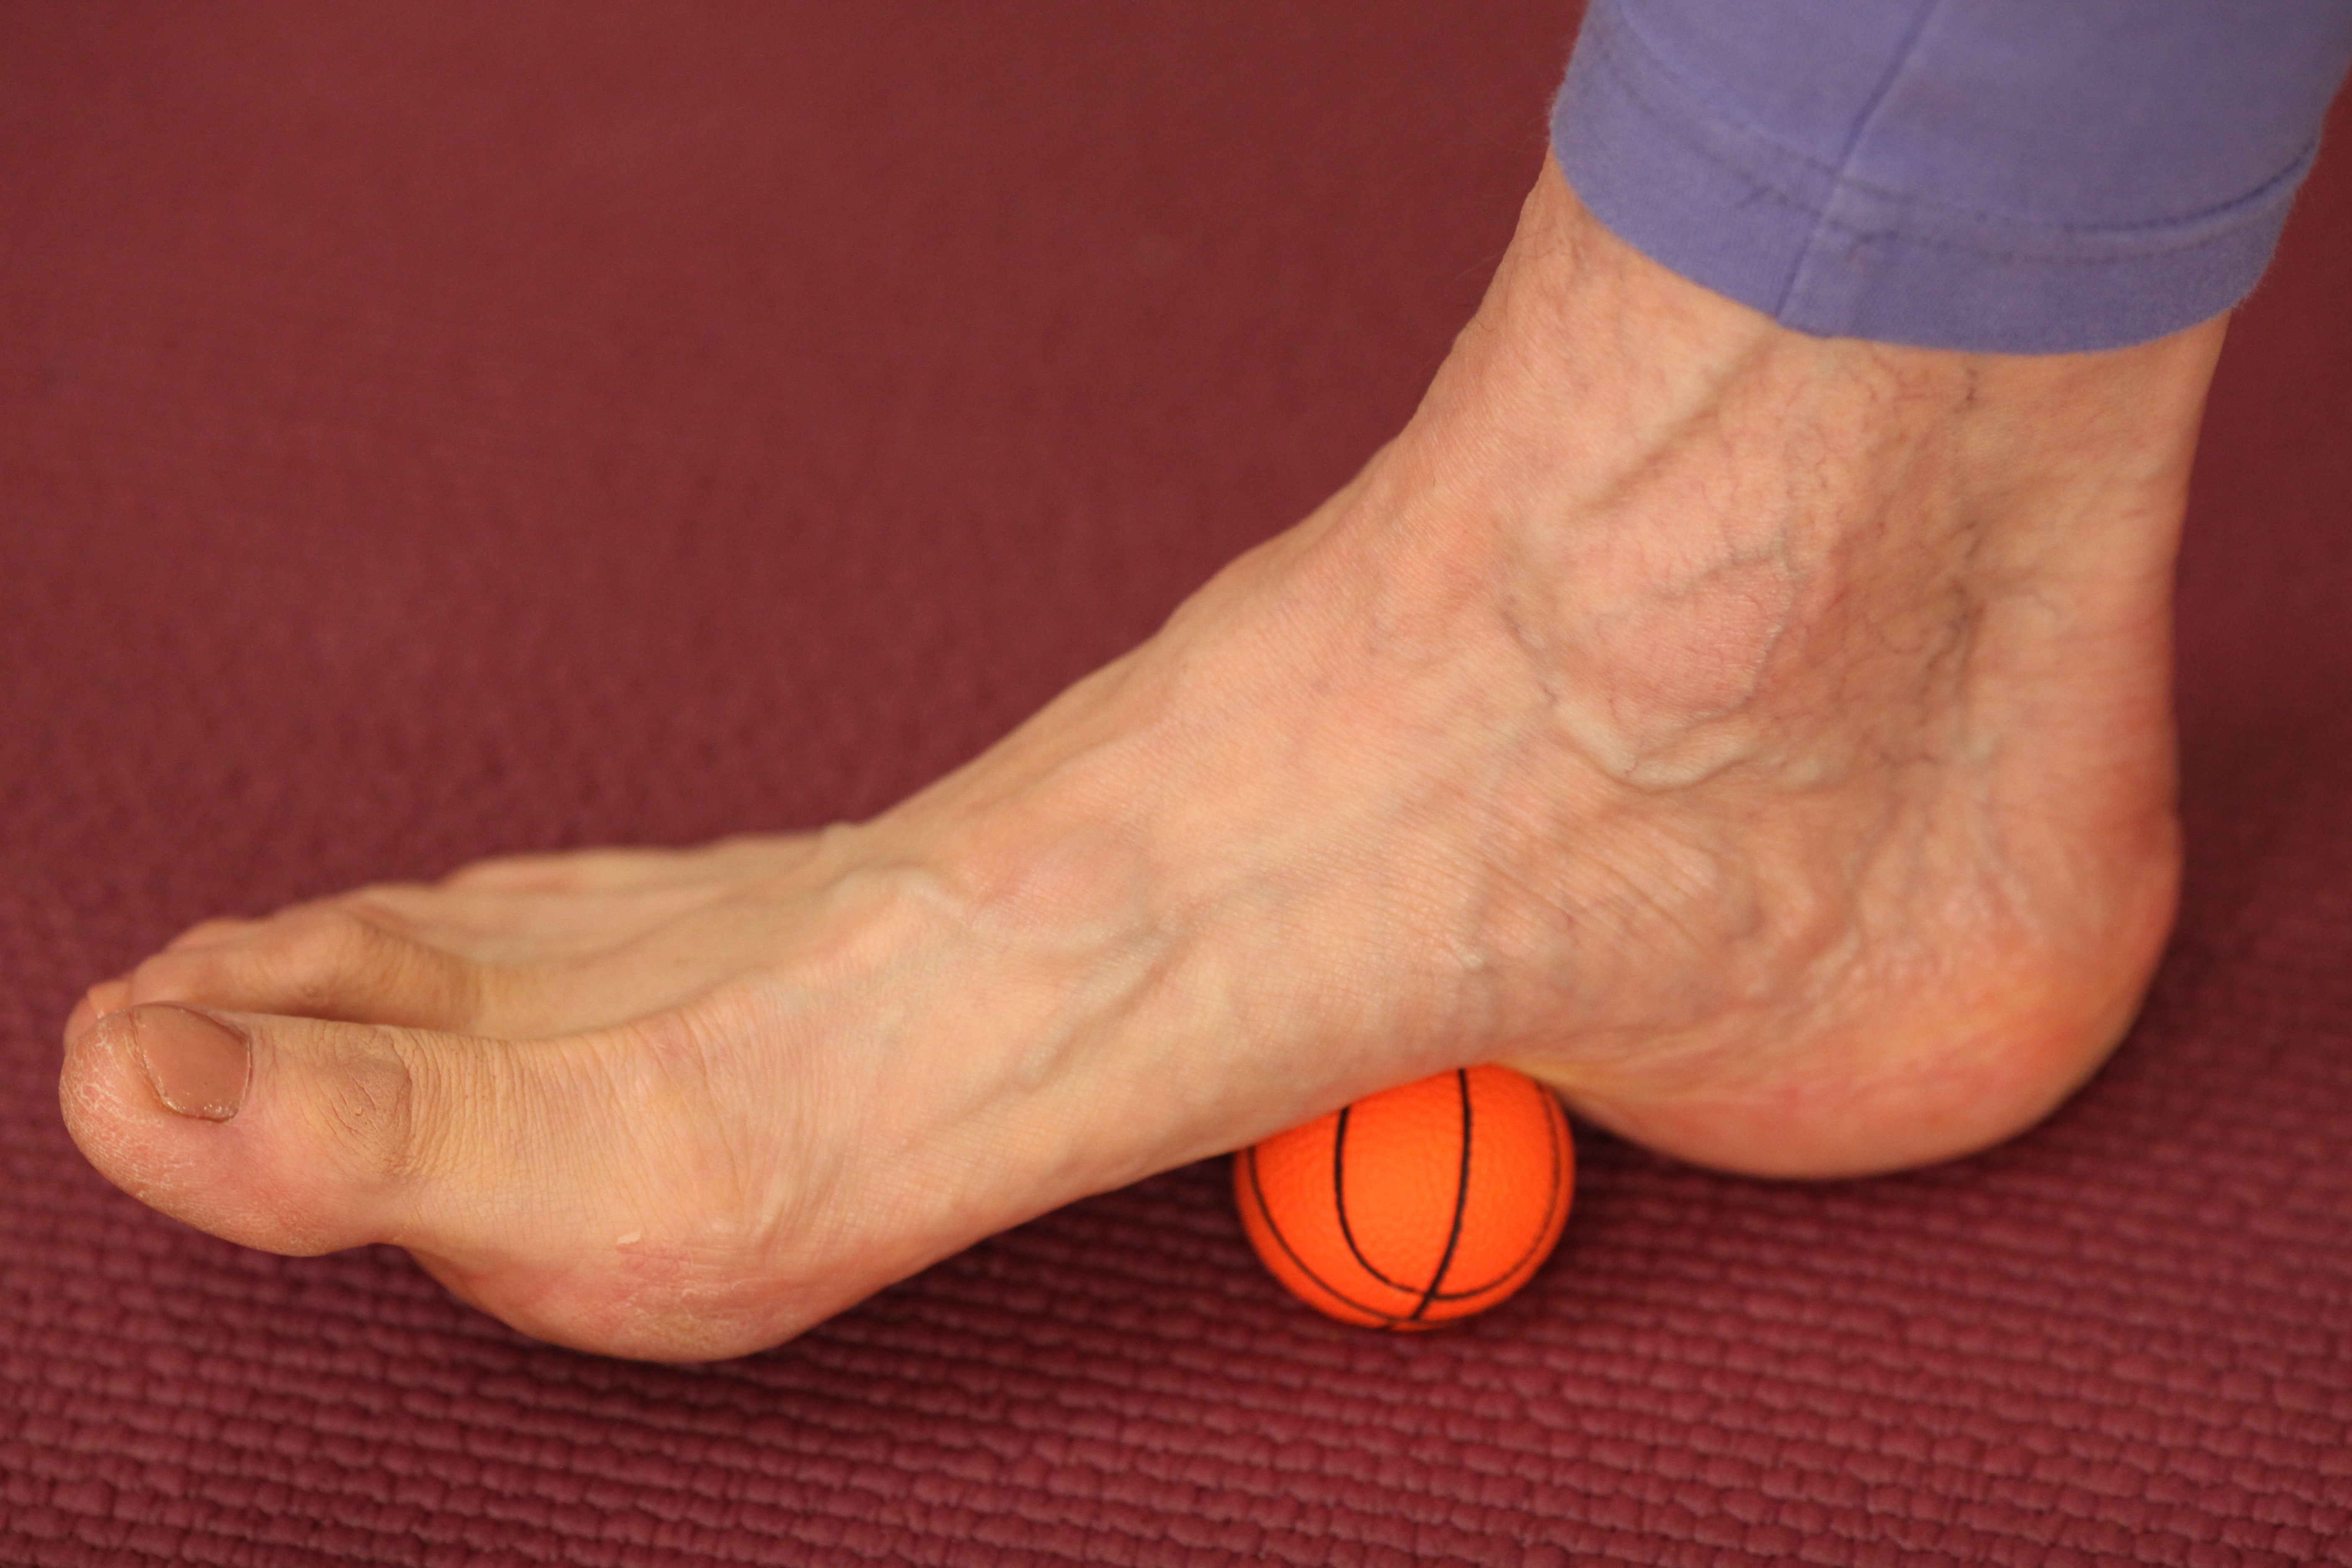
1. Foot Ball: First, roll the foot on a ball to wake up the kinesthesia of the foot and help to move the bones. In Kinetic Awareness, the foot ball technique is very specific and focused. We don’t roll the ball under the foot randomly. We work through the sole of the foot systematically, one spot at a time. With some part of your foot remaining on the floor, allow the ball to press in to the bones and soft tissue, mobilizing and bringing more circulation and sensation. The ball can encourage more movement because it opens up the fascia. Progress through the entire sole of the foot, taking time with the areas that are most in need. You can use a tennis ball, but ideally find one that is smaller, to reach more specific places in your foot. Choose a ball that is not too hard nor too soft: it should dig into the foot enough to provide stimulus. Spend at least 5 minutes on each foot, including the middle part, the edges, the toes, and the heel. Then walk around and feel how awake your feet are.
2. Toe curling: To strengthen the foot, sit in a chair and work one foot at a time. Curl your toes under and sweep them in toward the midline, in a gesture similar to gathering crumbs off the dinner table with your hand. This movement activates the muscles of your arch, particularly the toe flexors and the abductor of your big toe.
3. Foot Shrinking: Putting some weight on one foot, shrink the metatarsals and toes back toward the heel. Do this several times, and notice that the muscles you are using extend up into your lower leg. The arch will lift and your toes may also curl a bit.
For all you anatomy geeks, #2 and #3 strengthen the Tibialis Posterior, Abductor Hallucis Longus, Flexor Digitorum Longus and Brevis, Plantar and Dorsal Interossei.
4. Alphabet: Write the alphabet with your toes and feet, which works the foot and ankle muscles in multiple directions.
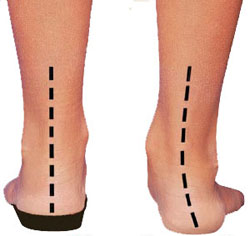
5. Heel raises: Stand near a wall or table for support. Lift your heels carefully, keeping your heels aligned by toning equally on the inner and outer edges. You are exercising the muscular sling around your arch, formed by the Tibialis Posterior and the Fibularis Longus. Most of the weight will be on your first three toes. Picture that your Achilles tendons are remaining absolutely vertical, and your ankles balanced directly over your heels. Get a friend to watch and see how you’re doing.
If the ankle and arch are collapsed, it will look like the foot on the right of this picture.
6. Four Corners: With one foot at a time, put weight into the four corners in the sequence described below, which accumulates by starting with one corner, then adding one more at a time until all four corners are down.
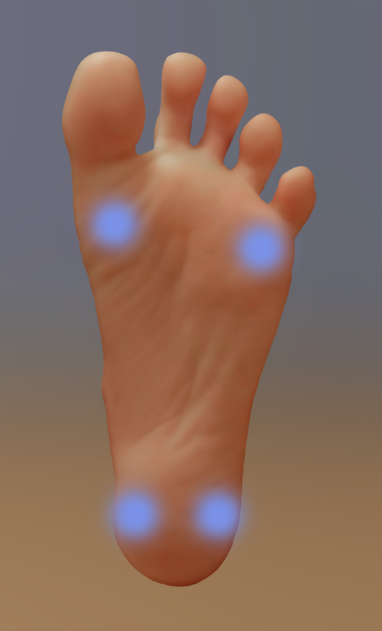 Start with only your inner heel on the floor, lifting the rest of the foot up. Then keep that inner heel down and put the base of your little toe down, making a diagonal connection across your foot. This activates the muscles in the mid-foot, your intrinsics. Then keeping those two down, widen across the toes to place the big toe mound down. Then keep those three down as you finish by crossing over to the outer heel. This last pass is the most important one for those with collapsed arches. It will bring more weight to the outer edge of the foot, allowing the arch to lift up. Notice the stability and strength when you have all four corners down and your arch lifted. Then repeat on the other foot.
Once your feet are alive and awake, you won’t want to stuff them into shoes that don’t fit. You’ll feel a new spring in your step, better balance, and greater stability in your yoga.
Be persistent; find the right shoes that allow your feet to have their full range of motion. Find the right combination of support, protection, and freedom of movement. Your feet deserve it!
This is a sample of some foot tricks, and there’s much more. Come to my therapeutics classes and workshops to learn more fun foot exercises. And watch for more blog posts about therapeutics.

I have had bad foot cramps for the past 10 years and so far no one has been able to figure out why. I’ve looked at all of the typical suggestions. I’ll try some of these exercises slowly.
I live in Waikoloa Village on the Big Island of Hawaii. Do you ever do any workshops in Hawaii or on the West Coast?
Also, if anyone knows a brand (other than SAS) that sells shoes for narrow feet, I’d appreciate the sharing.