Shoulder and Neck Release in 10 to 15 minutes
Do nagging pains in the shoulders and neck impact your everyday life, perhaps even causing mental stress or headaches? Relief is possible, in as little as 10-15 minutes a day.
The good news: Our shoulders and neck have a complex array of muscles and joints to give us amazing range of motion. The bad news: those muscles and joints can be locked into inefficient and even harmful patterns. More good news: you can re-establish beneficial patterns so that your body knows how to return to “neutral” after any activity or stress that builds up tension.
Here are five simple and relatively quick fixes for shoulder and neck pain.
1. Shoulder circles (2 min)
Standing or sitting, move your shoulders forward, up, back and down. Do this slowly and with close attention to what you feel. Don’t just rush through it – “I already know this one, it’s easy”……but really feel the process and note the tight areas, crackling noises, areas of ease. Do it 5 times in each direction. Then stop and do a few deep breaths.
2. Massage of the trapezius muscles with rubber balls (5-10 min)
You’ll need two matching balls, ideally with a firm texture. Tennis balls are about the right size, but their fabric skin is not ideal because they will slip around. A grippy rubber surface is best. See the links below for the online resource, or check your local sporting goods and toy stores.
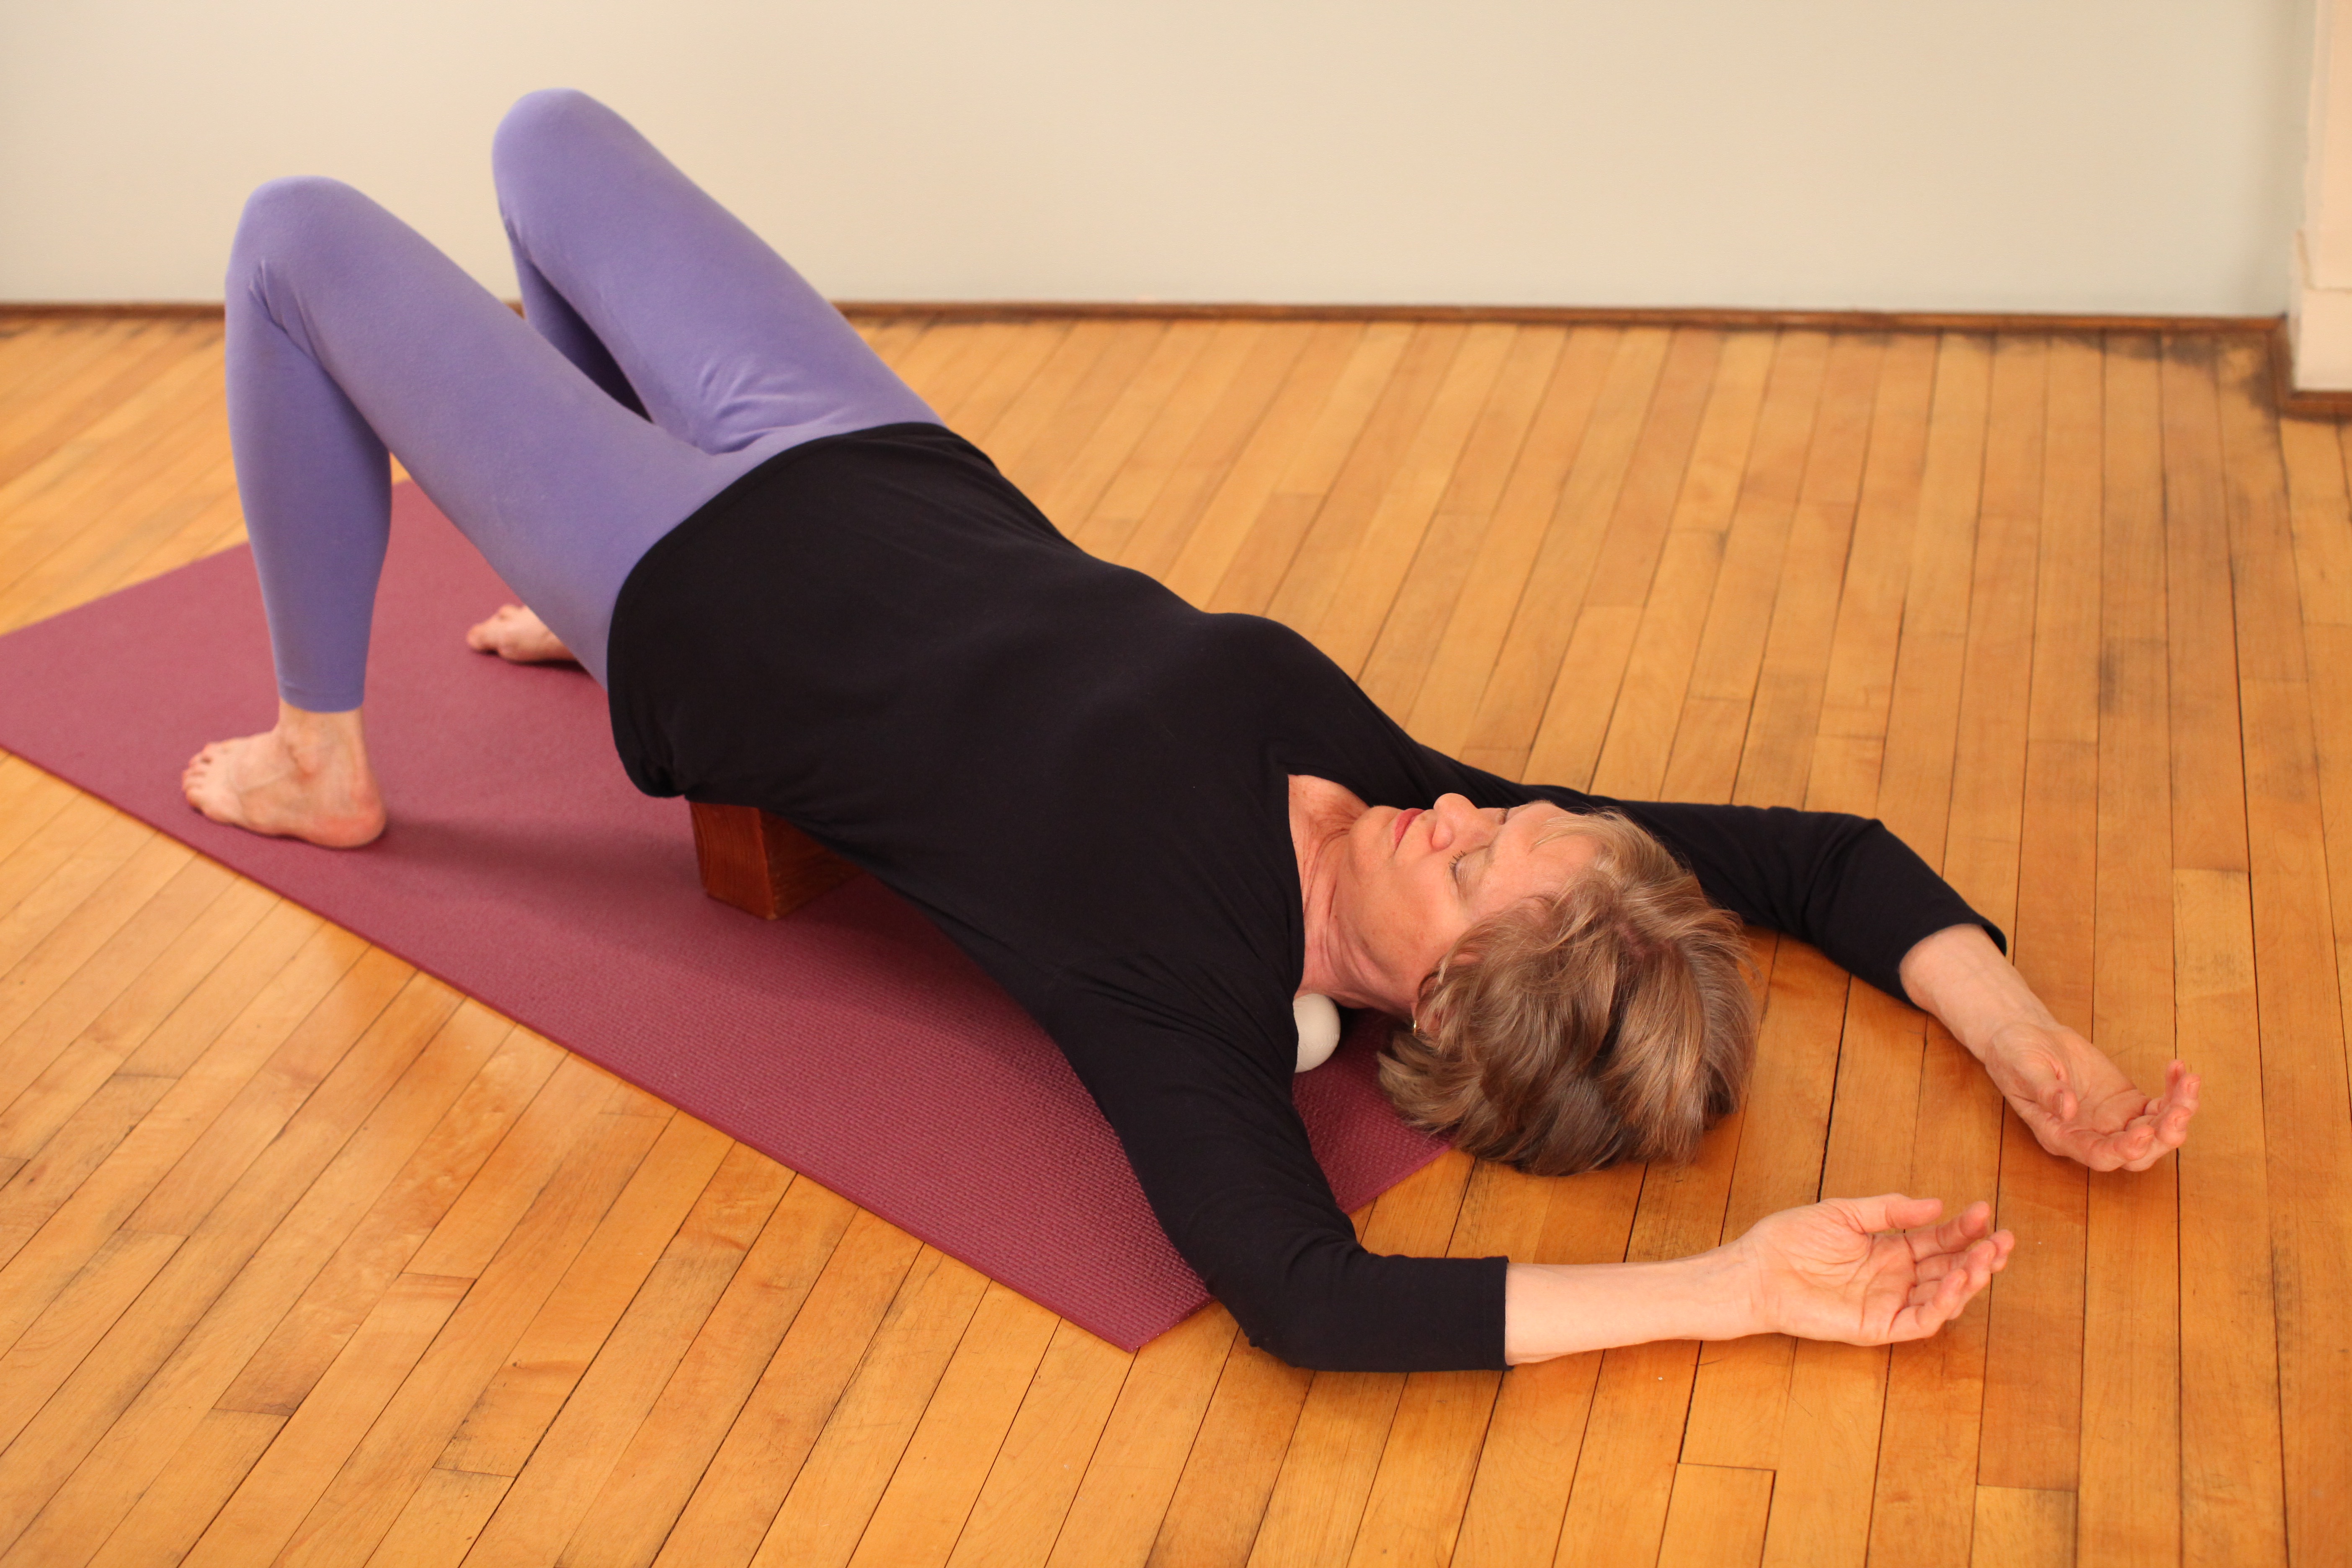
Lie on your back with a yoga block nearby. Place the balls under your upper trapezius muscles, one on each side. Readjust the exact position until it feels right: find the tight spots without causing extreme discomfort.
Place the block under your hips, so you’re in a supported Bridge Pose. Bring your hands to rest on your forehead and point your elbows upward.
There are two choices of movement:
- Remain still with your torso and move your arms slowly in the air. You can straighten your elbows, or keep them bent as you move. Explore different directions and notice how the pressure from the balls changes. Move very slowly. Frequently go back to a “home base” position in which your arms are as relaxed as possible.
- With your arms resting on the floor encircling your head, move your torso very slowly from side to side.
In both options, the movement adds to the effect of the balls as they encourage release of tension.
Do this for 5-10 minutes or so.
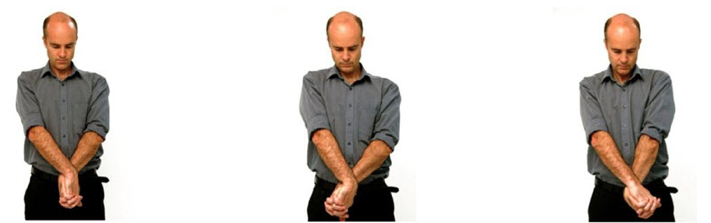
3. Shoulder stretch and strengthener (3 min)
 Because most of our activities involve the arms moving forward, we need to balance that with strong support from the upper back muscles, for the spine, the shoulders and the neck.
Clasp your hands behind your back, inhaling lift your shoulders just an inch or two up toward your ears, then pull them back, squeezing your shoulder blades together on your back. Keep the upper trapezius (where you had the balls) as wide and soft as possible. Do the squeeze with the muscles further down your back (upper and lower trapezius and rhomboids). Hold this for 3-5 breaths, then release. Repeat once more.
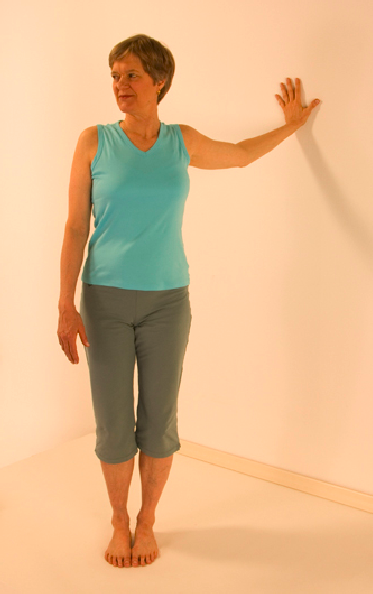
4. Side neck stretch (3 min)
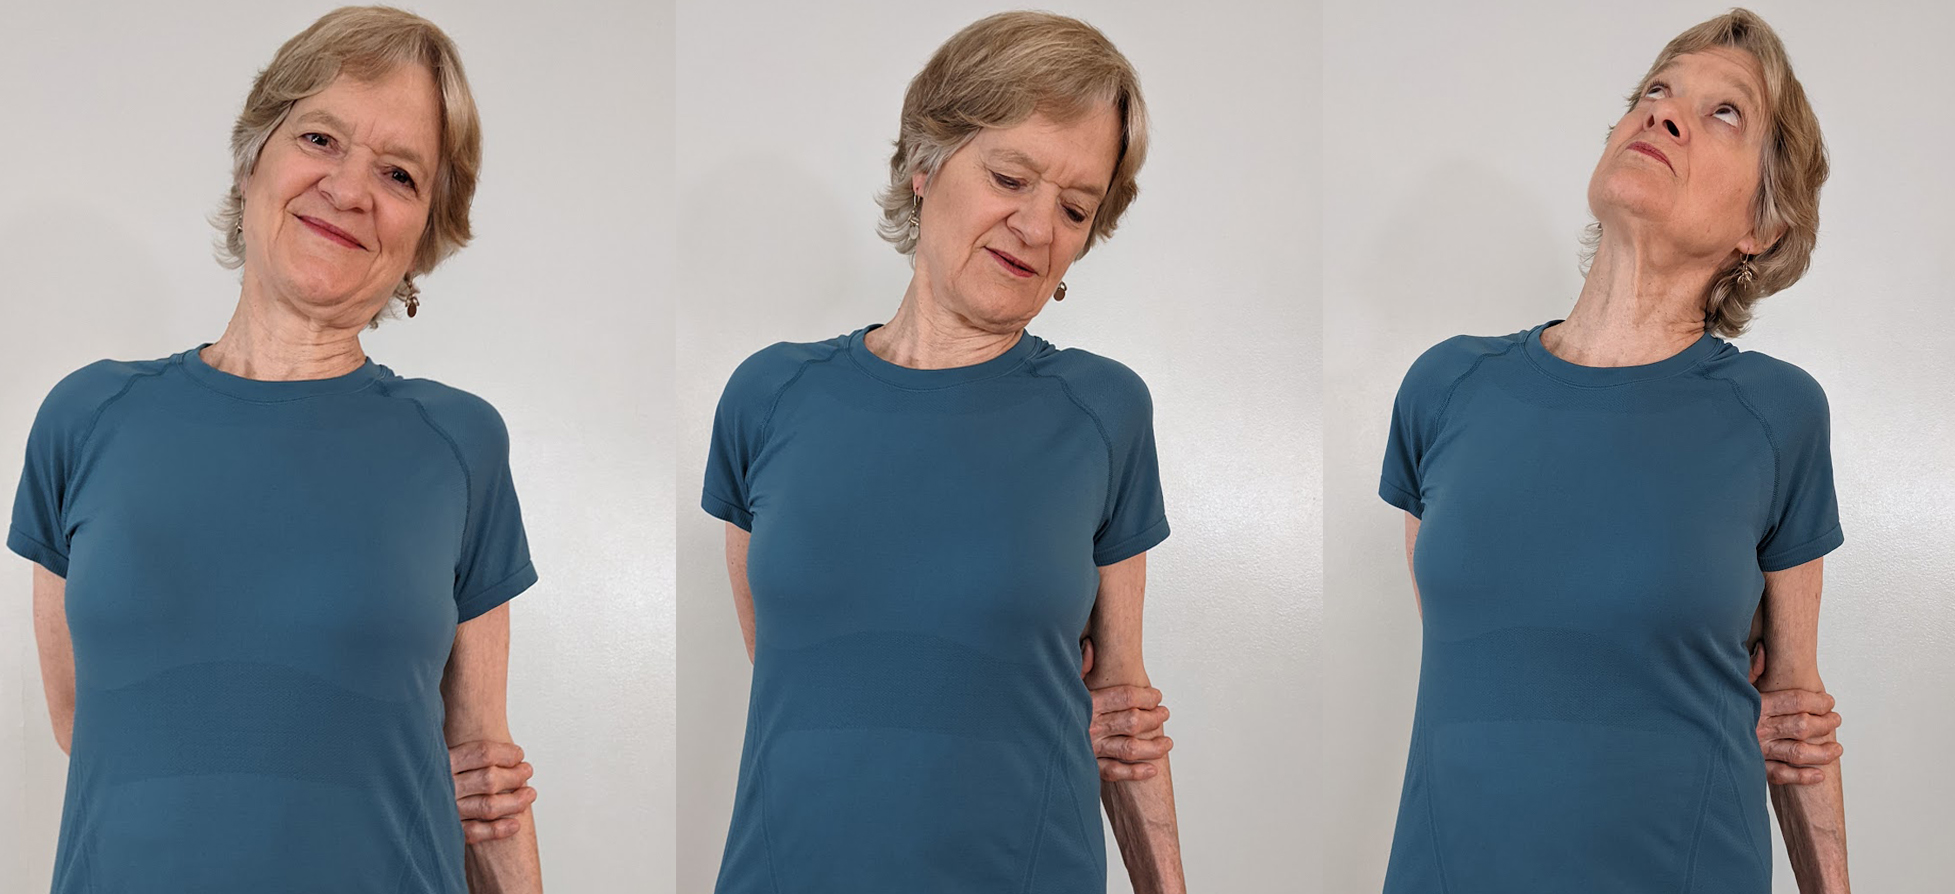
Standing tall, broaden your front chest. Wrap your right hand behind your waist, and grasp your left arm. If this arm position is not possible, you can sit on the floor and reach your right hand to the side, touching the floor or a block.
Tilt your head toward your left shoulder, looking forward. Stay there for several breaths. Then still tilting your head, look down and hold that for several breaths. Then turn to look up, and hold for several breaths. Then return to center, release, and repeat on the other side.
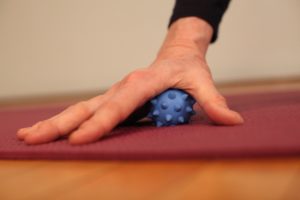
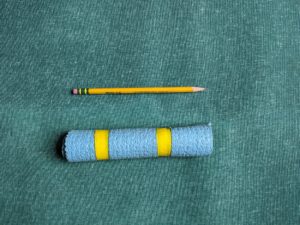
5.Massaging the back of the neck with a ball (5-10 min)
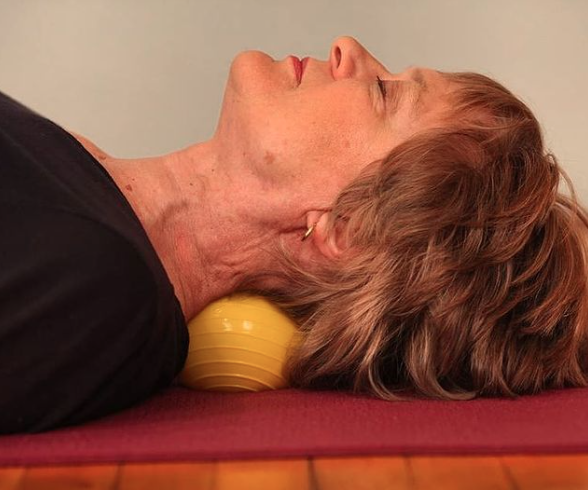
Use one inflatable ball that’s about 5-6” in diameter, the size of a common playground ball. Place it under the top of your neck, just below the base of your skull. Pause there to feel the sensations created by the pressure of the ball. Then very slowly turn your head to one side, progressing across toward your ear. Then return to center, and go to the other side slowly. Repeat again if you wish. Then remove the ball and gently roll your head to each side to feel the result.
Practice this series daily and enjoy more freedom and ease in your shoulders and neck!
For more information about Bodymind Ballwork and upcoming courses, visit www.ellensaltonstall.com.
To purchase balls go to www.lifesaball.org.